CHANDELURE was a project undertaken to try out the techniques used in Arc System’s Works game Guilty Gear Xrd -SIGN-.
The game itself has an incredibly convincing Fake 2D style, created with a unique art and asset pipeline during game development.
![Source [1]](http://glitchgeist.co.uk/wp-content/uploads/2015/10/GGXrd-Still.jpg)
Details are modelled into the mesh and textures act as colour lookups. Axis-aligned beams are added along edges of the colours to allow for clean lines on the mesh, simulating the lineart of 2D art and animation. This method allowed for close ups and distance shots without blurring or distortion, making the models incredibly robust.
Models were constructed in Autodesk SoftImage as it allowed them to preview models with the cell shaders. Any detail that looked ‘too 3D’ was removed.
The edge outlines are created using a shader but for this experiment I focused on the model and texture work only.
As a big fan of cartoons and Fake 2D rendering, I decided to give this method a try.
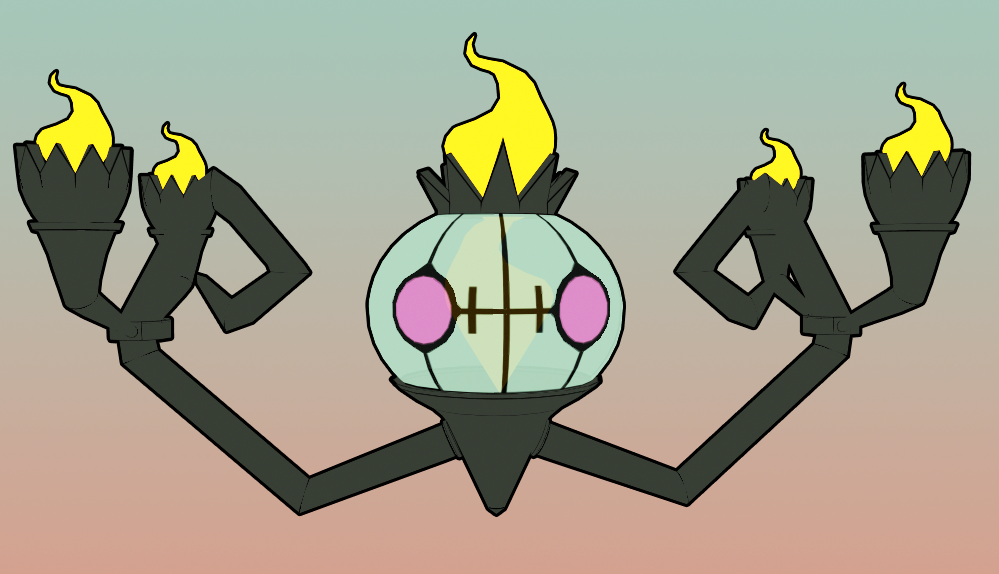
Chandelure is a character from the Pokémon franchise. The simple design was great for this as a more detailed design would have been incredibly time consuming.
As per the technique, details (such as the eyes) were modelled directly into the mesh. The model cannot rely on normal maps to suggest bumps or shapes either so small details on the arms are also included.
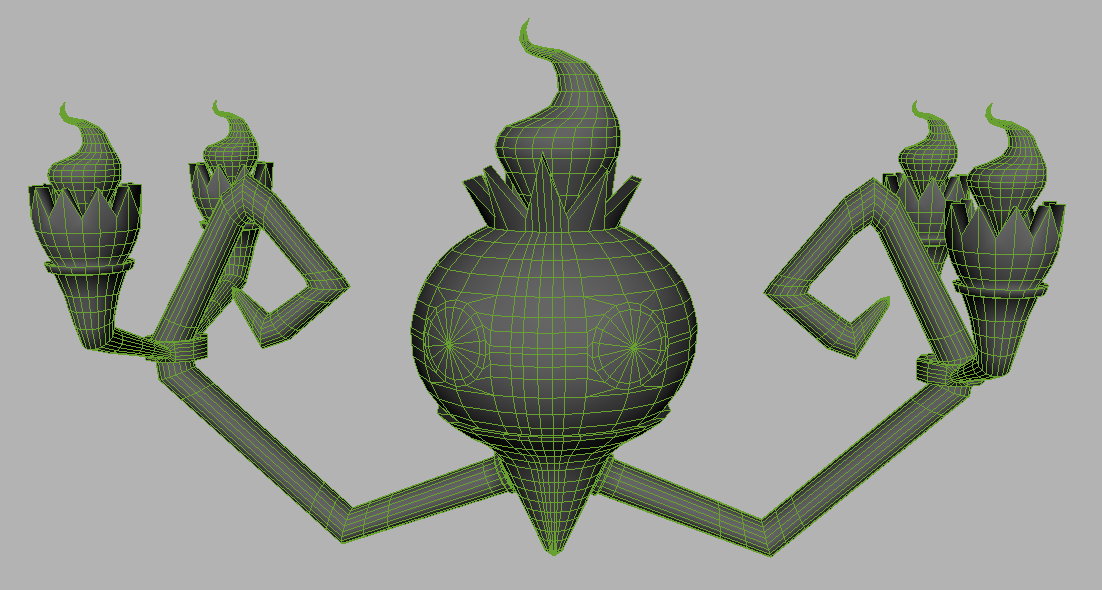
Once modelled, the next step was to add the textures. For this I only needed a simple collection of colours and the axis-aligned beams:
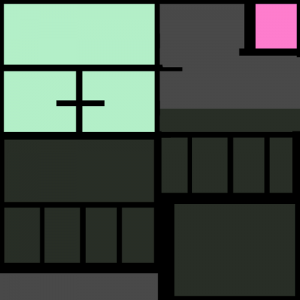
Admittedly as this was my first try the UVs are a little haphazard, but the overall result is exactly what I was looking for. With careful placement and a lot of patience, the ‘inner lines’ of the model were added. Key areas included the eyes and stained glass centre divisions, the ‘crown’ and candle holders and the small ‘creases’ where the arms bend.
The most efficient way I found to do this was to separate the UVs into a collection of squares. The squares are placed in the correct colour section and the edges are shifted over the axis-aligned beams until the desired line is produced.
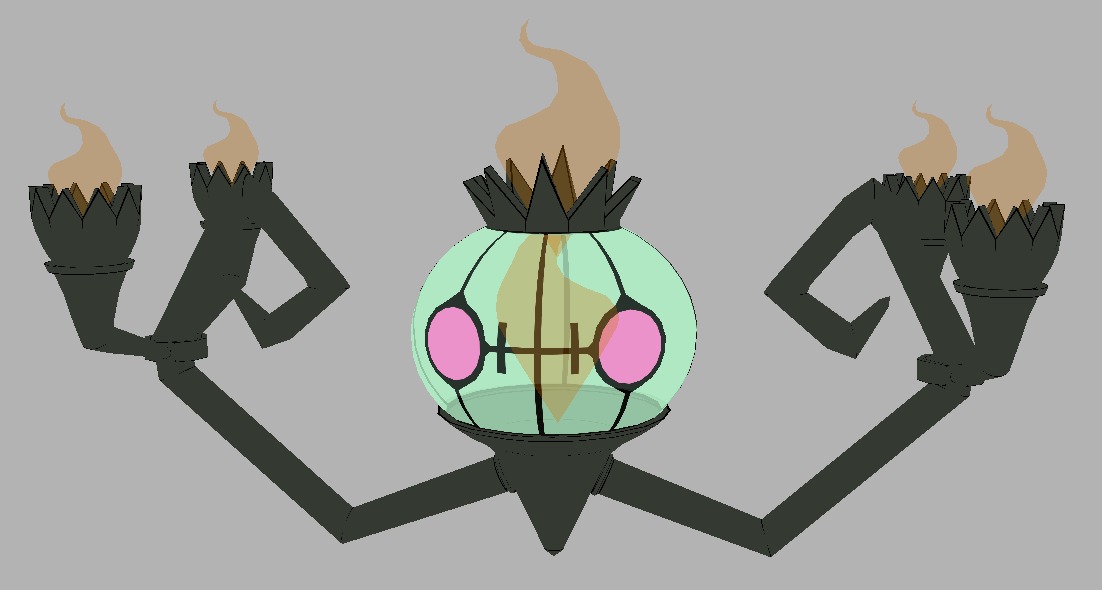
For the final render I removed all shading and added a thicker outline in Photoshop to preview the effect without having to add shaders. Overall the final visual look is perfect, if time consuming. I hope to use this technique on another model in the future!
Now, onto the rigging! For this character I wanted to try giving them ‘springy’ arms due to the curly design. The overall skeleton contains 30 joints and was rigged with 7 control shapes to create basic movement and posability.
The control shapes allow you to move the central stained glass orb (although this causes some distortion, a mistake in hindsight), the arms together or individually, the sets of candle holders and the model as a whole.
I wanted to add the springy arms so I looked into Dynamic Joint Chains. This involved making a spline IK handle from the tip of the arms to the shoulders and using the Hair Dynamics.
I had used these once before to create ponytail movement but this design was curly and a ‘rigid’ shape, so it required some dampening of the dynamics to prevent unfurling or ‘floppy’ behaviour. I also had to increase the attraction to keep the arms on line with where they were supposed to be instead of sliding off to the side.
Right now the arms are still a little too animated so the values will be tweaked. Somewhere in the upgrade from Maya 2013 to Maya 2016 the dynamics altered and created a less ‘rigid’ dynamic joint chain, but this should not be too hard to fix.
The final steps are to preview this model with cell shaders and fix the dynamics problems!
Image Sources and References
[1] Gamespot
[2] GDC March 2015